
Oh, it really is dusty. Whoops, I was just talking about the blog, hehe. So HELLO GUYS! How are you doing recently? Life has it's ups and downs so I'm pretty sure that not everyone of us are experiencing happy moments or happenings every single day. For me, I would just want to keep my life simple and neutral with no unnecessary stress or problems. But it seems like I just can't get rid of it. Whatever happens, I have to tell myself to stay strong and always try my best to do something that is within my abilities. :)
>> I'm going to post about a diy tutorial today, yay! It's about making your own multiple-paged card! I'm not sure if you guys would really like this method but I find it easier compared to other methods that I can find online. It's simple and it doesn't require staplers. You'll need a bit of an effort and a piece of ribbon. :D
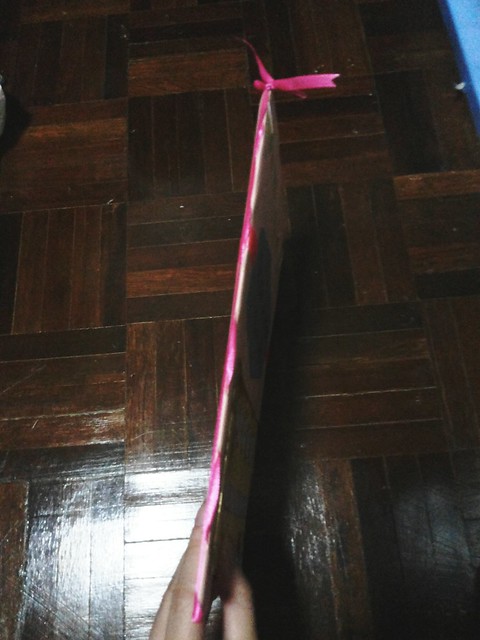
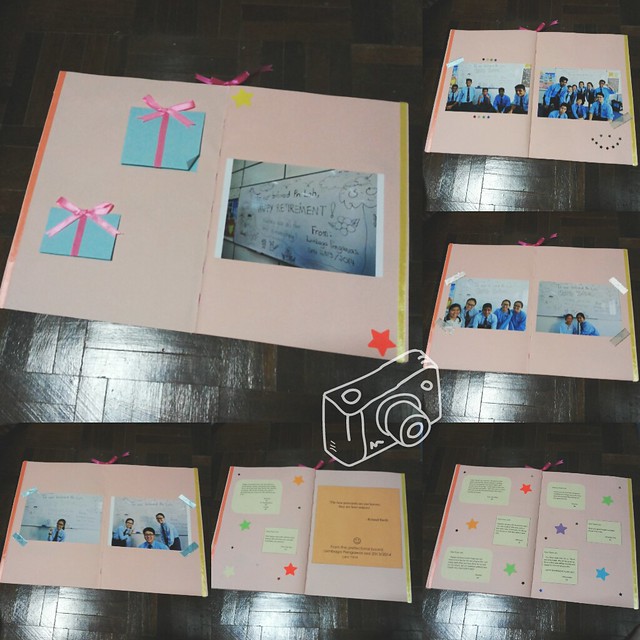
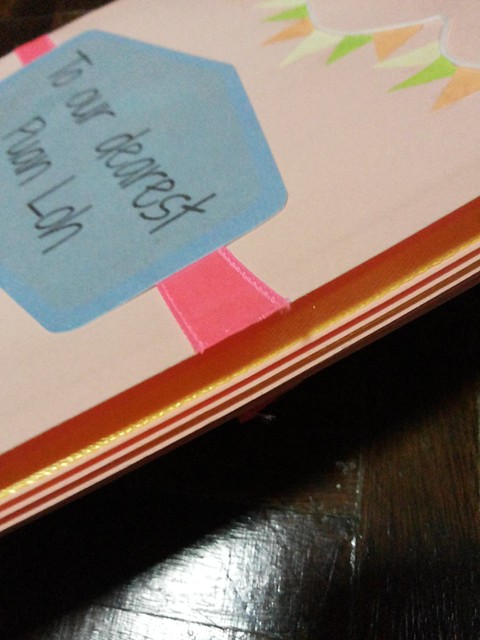
Here's some pictures of my creation,

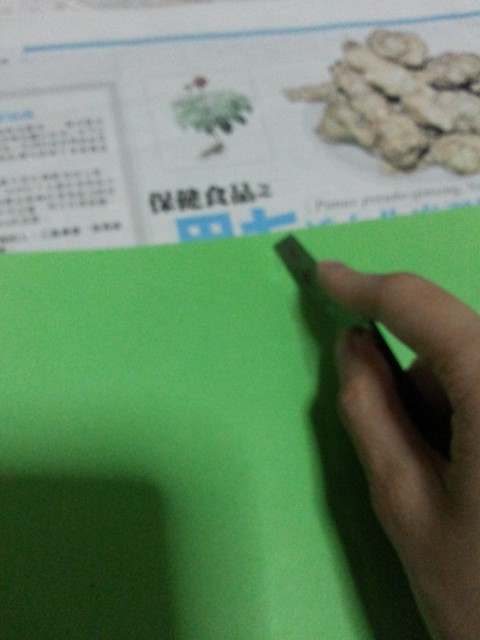
These are some of the materials that I used in making the card.
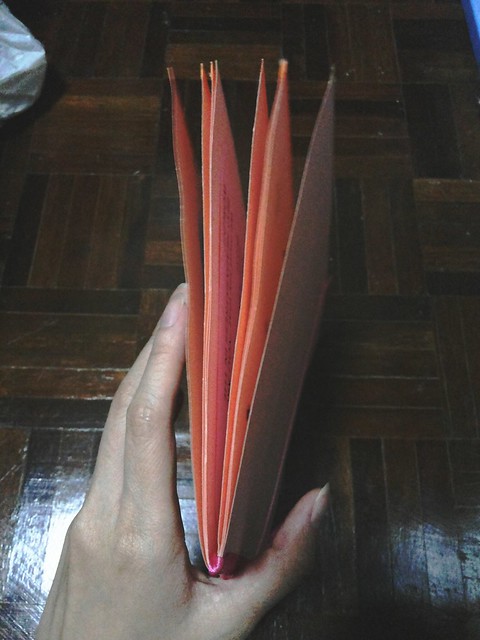
Side view of the card.

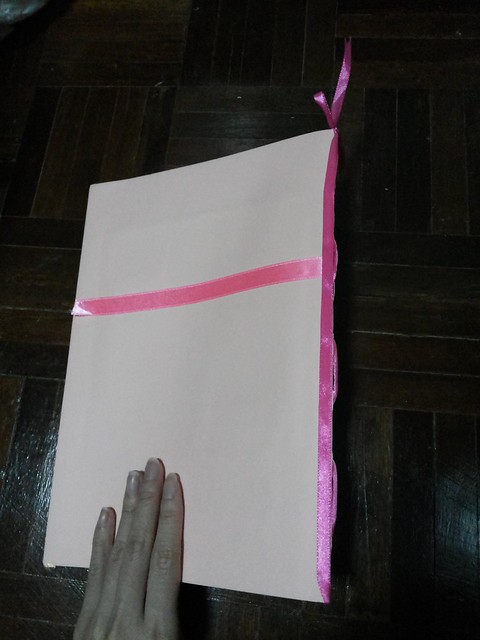
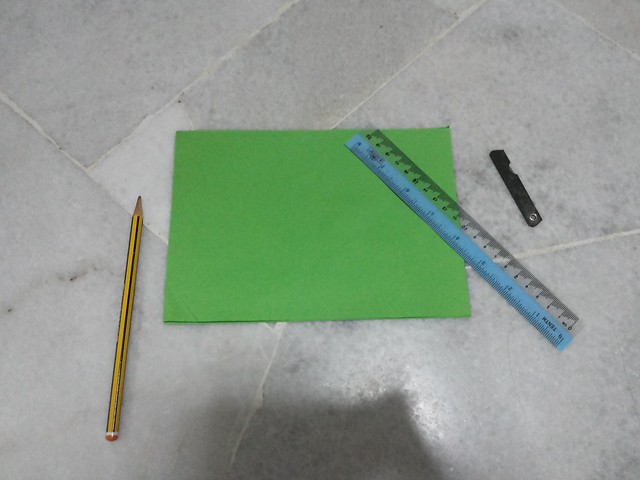
The things required to make your card. Here, I'm using smaller pieces of paper just to demonstrate on how to complete the entire process.
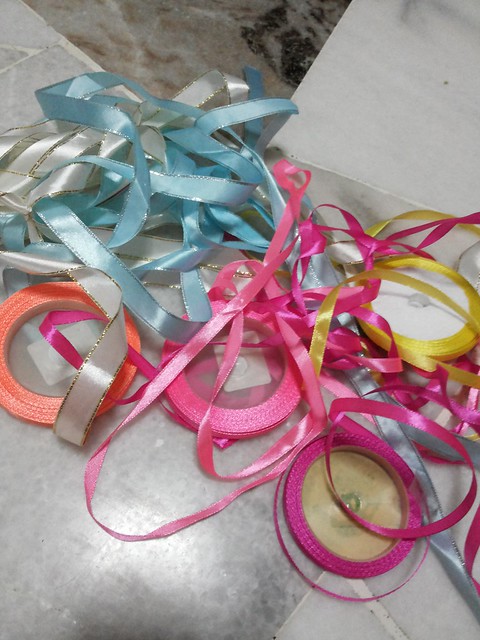
Select the ribbon of your choice. :)
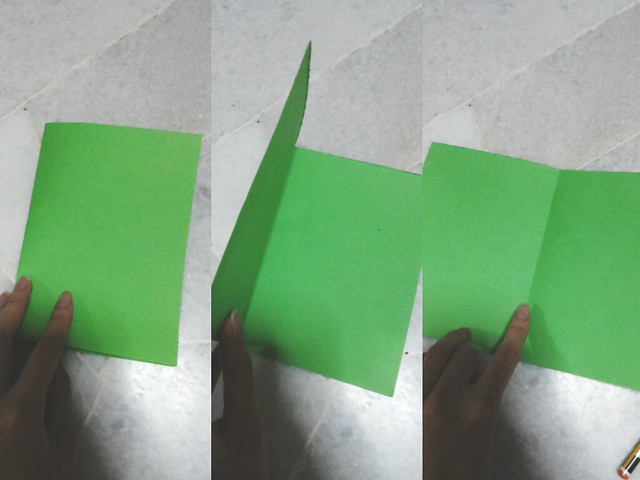
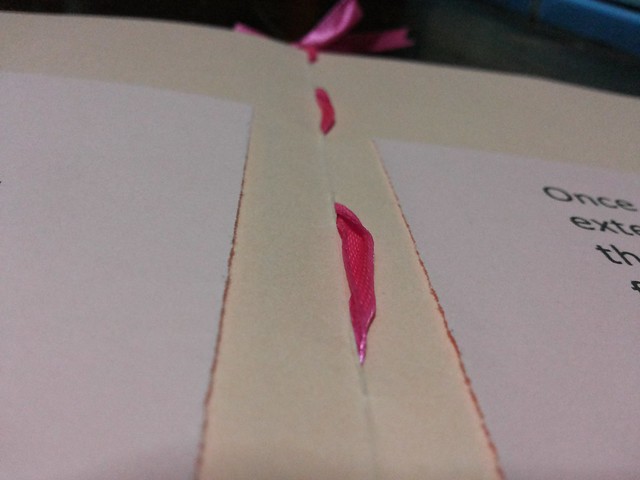
First, fold your card or paper into half to create a crease in the middle.
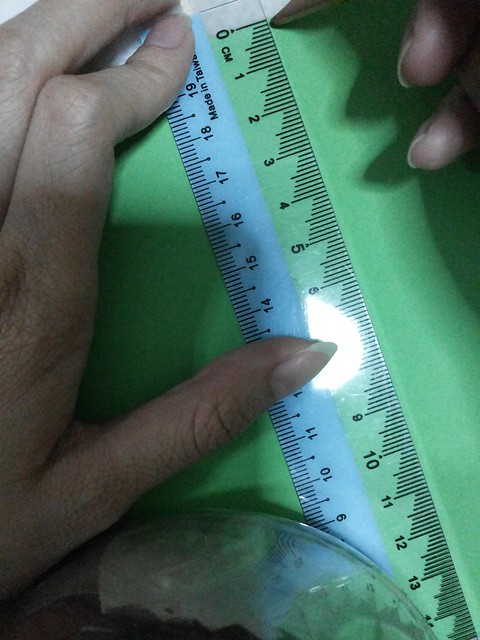
Next, unfold your card and start measuring the length between the gaps that are needed to be cut for the ribbon to go through it.
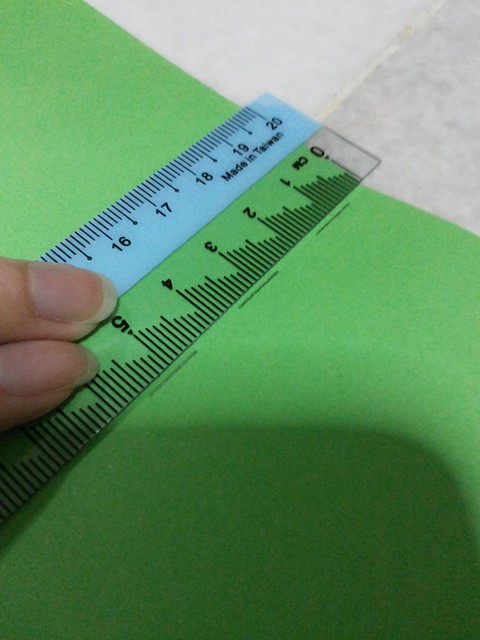
Measure depending on how large you want the gaps and the holes to be.
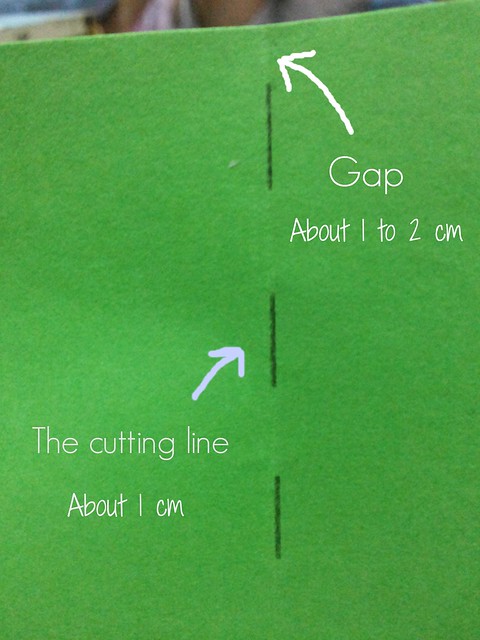
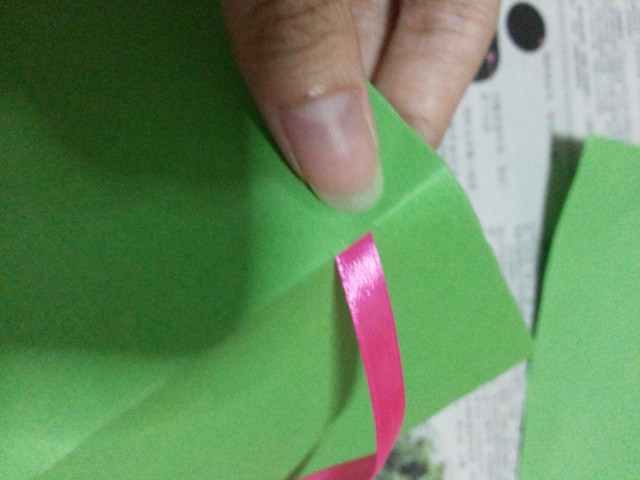
Draw it till the end of the card..
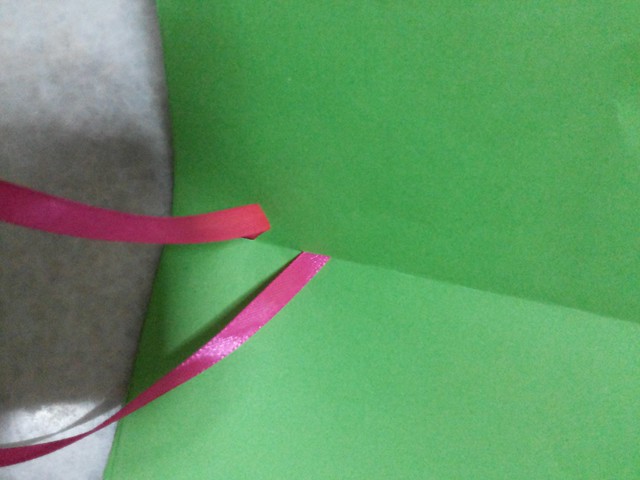
Next, cut the line that you have drawn earlier.

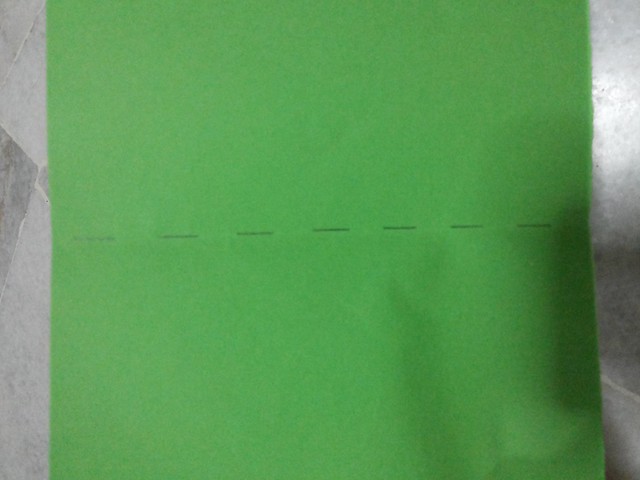
The holes should appear like this.
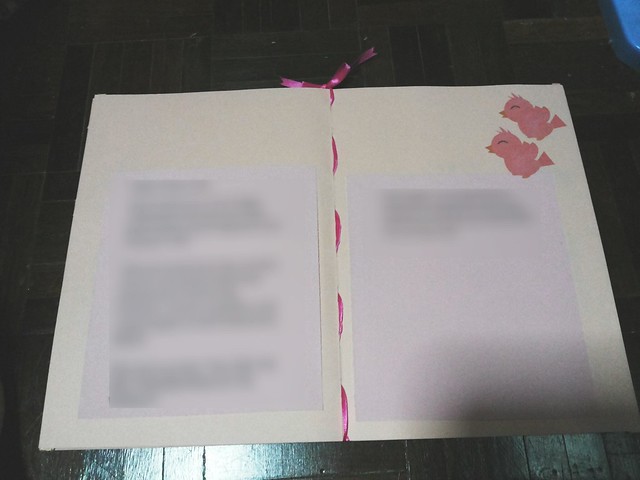
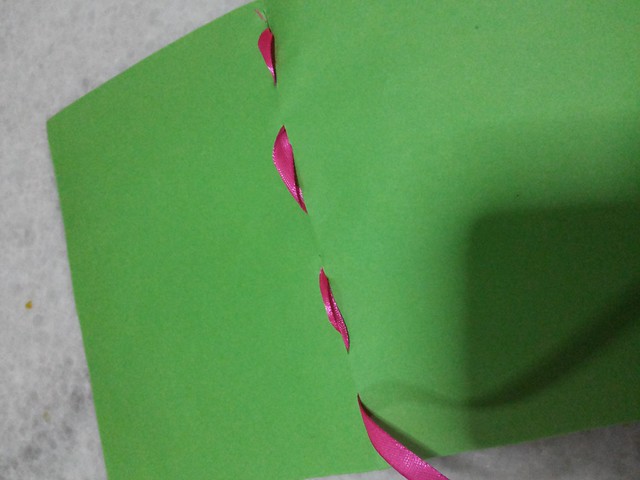
Pull the ribbon through the first hole of the card.

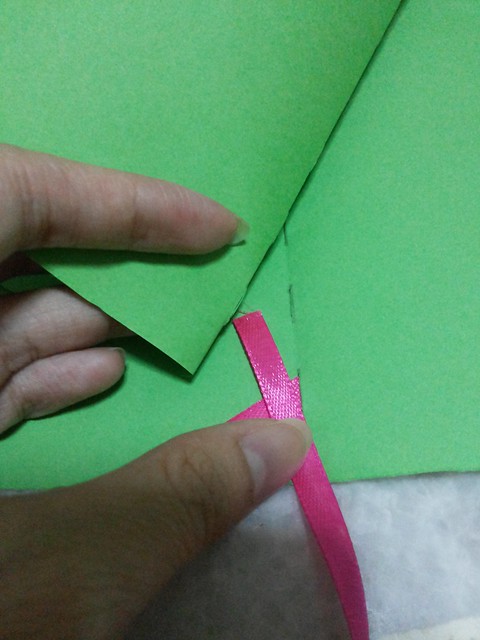
Then, combine the other card and continue to pull the ribbon through the first hole of the other card.
Like so.
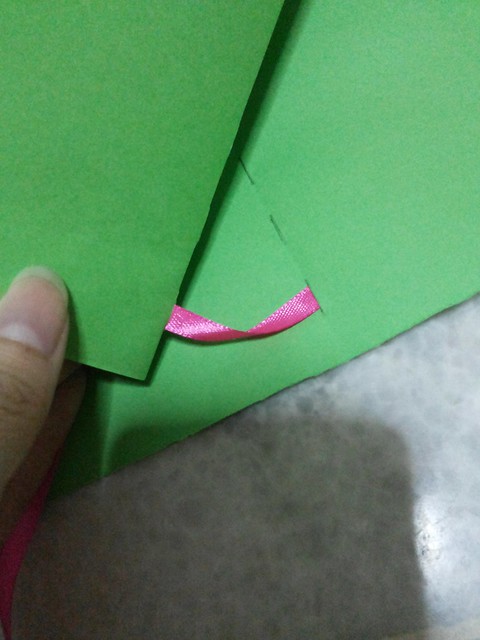
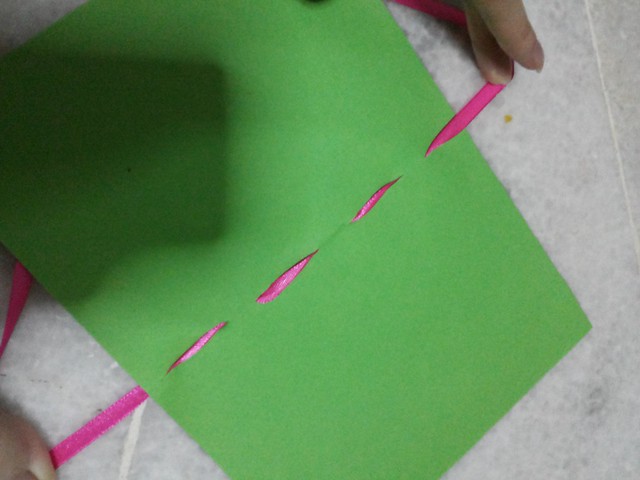
Repeat this step until you have completed in inserting the ribbon through the holes of all the cards.
Then you'll have something like this.
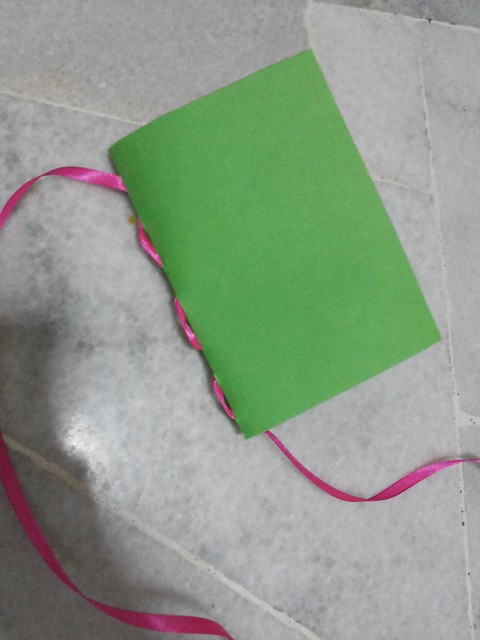
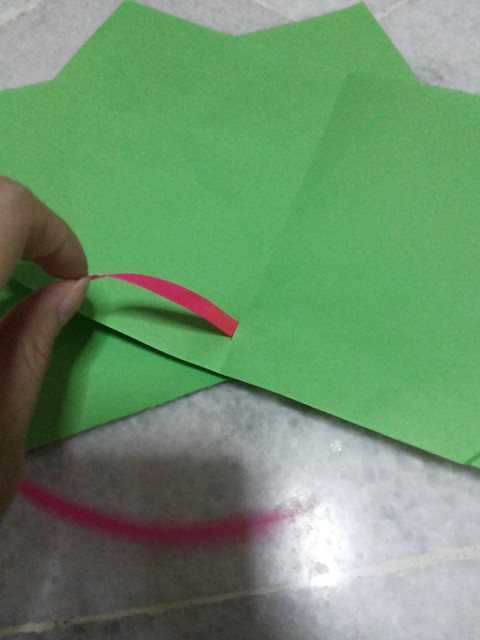
Flip it over and you have this.
Adjust and pull the ribbon tighter in order to complete the process. But never pull the ribbon until it's too tight in order to prevent damage to the card.

After you have pulled the card, pull both ends of the ribbon together to tie to each other. You can also decide on how you want to end your card by using other methods of your choice. :)
As for mine, I tied it this way.
I tied the ribbon upwards to form a beautiful ribbon on top. :)
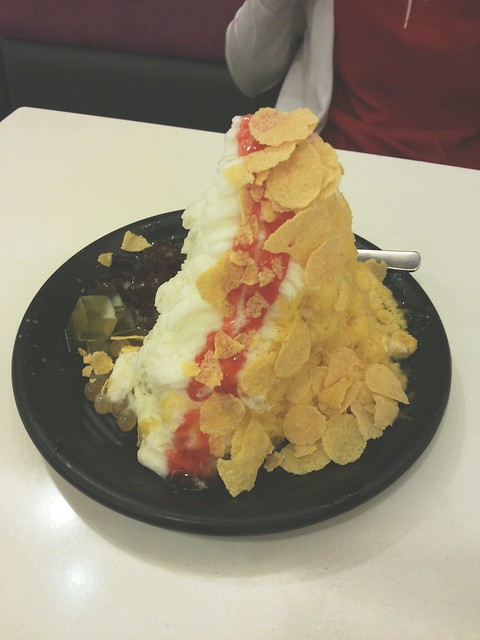
Here's some little updates :
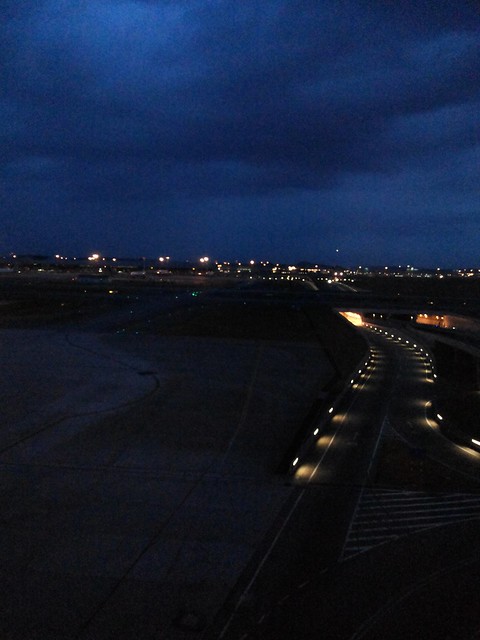
Took this picture last week in KLIA to send my mum to the airport. I really love the scenery of the airport. With bright lights and different types of airplanes. :)
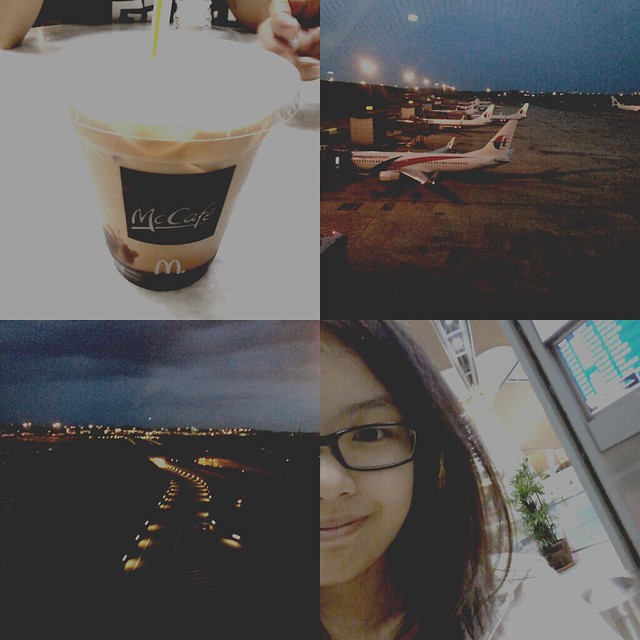
If you have followed me on instagram, you probably would have seen this picture. :)

Took this in forever 21. Hahaha, played with the floral hairband and I looked like a mad woman :p
Had the chance to catch up with my darling Chai Hwai after so long! :D
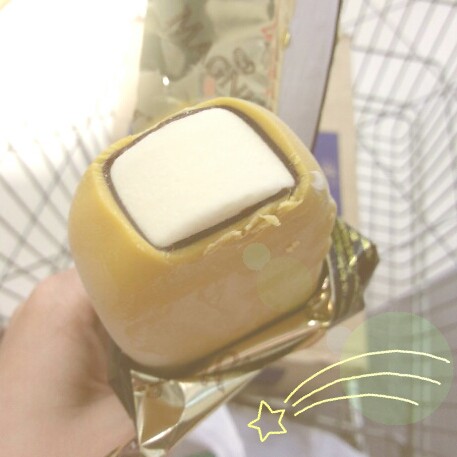
Tried out the new magnum gold! I find it a little too sweet for me but I loved the taste of the ice cream in it. :D

Hello from me and Javier! :D
That's all for this week, hope you'll enjoy your school holiday! :D
No comments:
Post a Comment